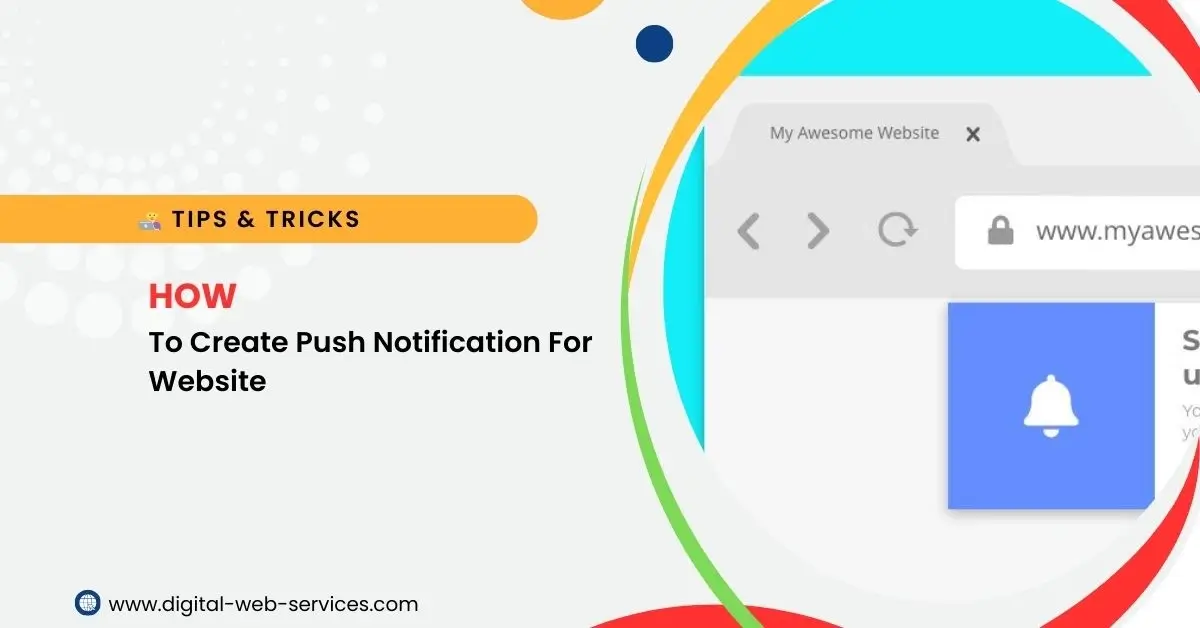
Push notifications are an excellent way to engage your audience and keep them updated with important content or events on your website. Unlike traditional email newsletters, push notifications can reach users instantly on their desktop or mobile devices, even when they are not on your site. In this article, we will explore the steps to create push notifications for your website.
What Are Push Notifications?
Push notifications are messages sent from a website or mobile app directly to a user’s device. They appear as pop-up notifications, banners, or alert boxes. They are typically used to inform users about new content, product updates, promotions, or other relevant information without the need for them to actively visit the website.
Steps to Create Push Notifications for Your Website
1. Choose a Push Notification Service
Before you start adding push notifications to your website, you’ll need a third-party service or tool to manage them. There are several push notification providers available that offer easy-to-integrate solutions for websites. Some popular push notification services include:
OneSignal
PushEngage
Pusher Beams
Firebase Cloud Messaging (FCM)
Web Pushr
These platforms usually offer both free and paid plans depending on the scale of notifications and features you need.
2. Set Up an Account
Once you choose a push notification service, you’ll need to create an account. After signing up, you will be provided with an API key or a unique ID that you will need for integrating the service with your website.
3. Add Push Notification Code to Your Website
After setting up your account, the push notification service will guide you through the integration process. You will typically need to add some JavaScript code to your website to enable push notifications. Below is a general approach using OneSignal as an example.
a. Include OneSignal SDK
The first step is to include the OneSignal SDK on your site. Add the following code to the <head> section of your HTML document:
b. Initialize OneSignal in JavaScript
You will also need to initialize the OneSignal SDK by adding the following code to your JavaScript file or within a <script> tag:
Replace "YOUR_APP_ID" and "YOUR_SAFARI_WEB_ID" with the values provided by OneSignal when you create your account.
c. Prompt Users to Subscribe
Once the SDK is set up, OneSignal will automatically prompt users to subscribe to push notifications when they visit your website. If you prefer, you can customize the appearance and behavior of the subscription prompt. It’s recommended to show this prompt at an appropriate time, such as after a user has interacted with your website or when they are about to leave the site.
4. Send Push Notifications
Once users subscribe to your push notifications, you can start sending them messages. You can either manually send notifications via the OneSignal dashboard or use their API to automate notifications based on triggers or user behavior.
a. Manually Send Notifications
To send a manual push notification, log into the OneSignal dashboard, select your app, and then click on the “New Push” button. From here, you can customize your message, choose the target audience, and send the notification.
b. Automate Notifications
To automate notifications based on events, you can use webhooks or API calls. For example, you can send a notification when a new blog post is published or when a user abandons their cart.
5. Test and Optimize Your Notifications
Once you start sending push notifications, make sure to test them across different devices and browsers. Monitor user engagement and adjust the frequency and content of notifications based on user responses. Too many notifications can annoy users, so it’s important to find the right balance.
6. Handle Notification Subscription States
You may also want to manage users who opt-in or opt-out of receiving notifications. Implement logic to show or hide notifications based on a user’s subscription status. Additionally, if you wish to send notifications to specific segments of users, you can target based on user properties like location, language, or interests.
7. Ensure Your Website Is HTTPS-Enabled
Push notifications only work on HTTPS-enabled websites. This is important for both security and functionality. Ensure your website uses SSL (Secure Socket Layer) by acquiring an SSL certificate. If you haven’t done so already, most modern web hosting services can provide this certificate for free or at a low cost.
Best Practices for Push Notifications
Make Notifications Relevant: Tailor notifications to specific user interests or actions (e.g., product updates, new blog posts).
Timing Matters: Send notifications at the right time to avoid disturbing users. Make sure to test different times of the day for engagement.
Avoid Overloading Users: Too many notifications can cause users to unsubscribe. Use notifications sparingly to keep users engaged without overwhelming them.
Personalize: Personalizing notifications based on user behavior (e.g., shopping cart reminders) will make them more relevant and engaging.
Clear Call-to-Action (CTA): Always include a clear CTA in your notification. For example, “Check out our latest product!” or “Read the full article.”
Track Analytics: Most push notification services provide analytics to track user interactions. Use this data to improve your strategies.
Conclusion
Push notifications are an effective tool for enhancing user engagement and improving your website’s conversion rates. By following these steps, you can integrate push notifications into your website and start communicating directly with your audience. Ensure that you provide value with every notification, and don’t forget to test and optimize your strategy for the best results.
With the right approach, push notifications can significantly boost user retention and drive more traffic to your website!
Digital Web Services (DWS) is a leading IT company specializing in Software Development, Web Application Development, Website Designing, and Digital Marketing. Here are providing all kinds of services and solutions for the digital transformation of any business and website.


